Today, I'm going to share with you all my DIY christmas project - bunting!!! I have made bunting before as room decor however there are many different occasions you can make them for as these instructions are very versatile. It is very easy to personalise your bunting decorations.
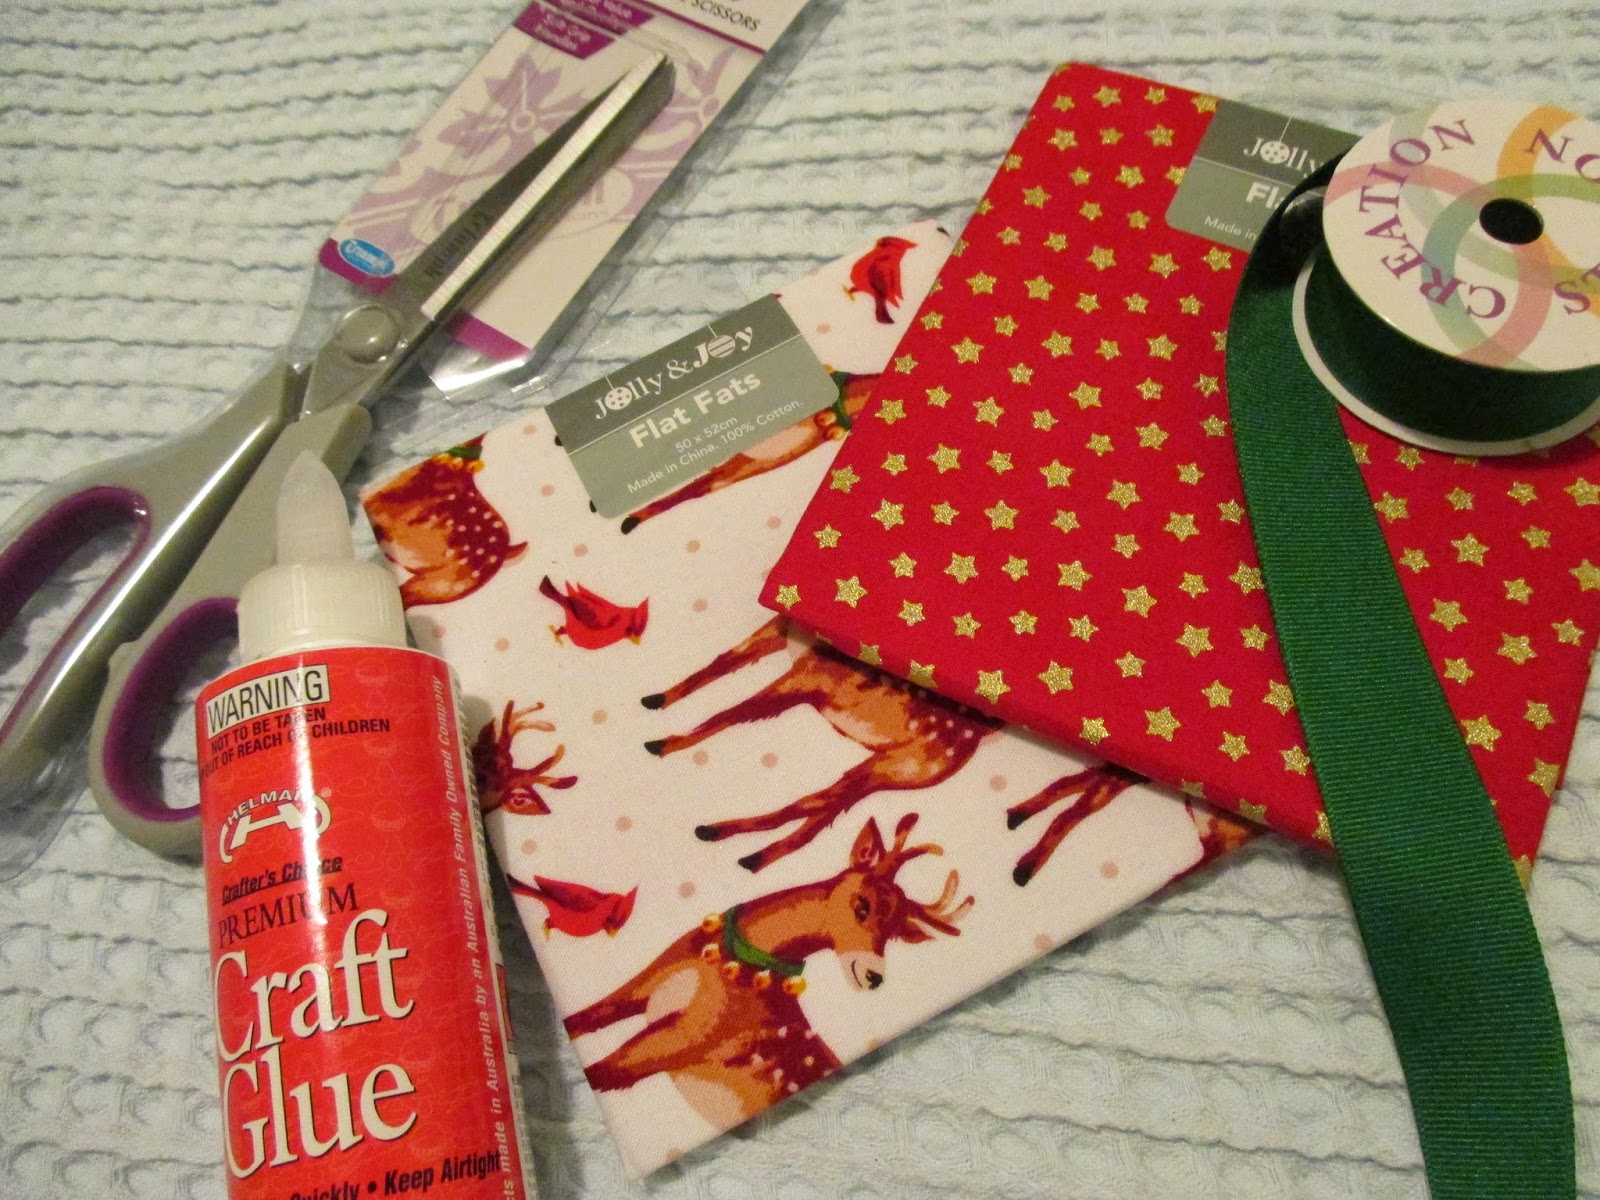
Before we start there are few things you will need:
- Fabric of your choice - I chose a few different kinds
- Cardboard - for cutting template flags
- Pencil and Ruler - to measure the width between the flags
- Scissors
- Glue (either craft glue or a hot clue gun)
- Fray Stopper (this is optional but it will ensure the bunting lasts a longer time)
- Ribbon - to use as the string that holds it all together
Step One
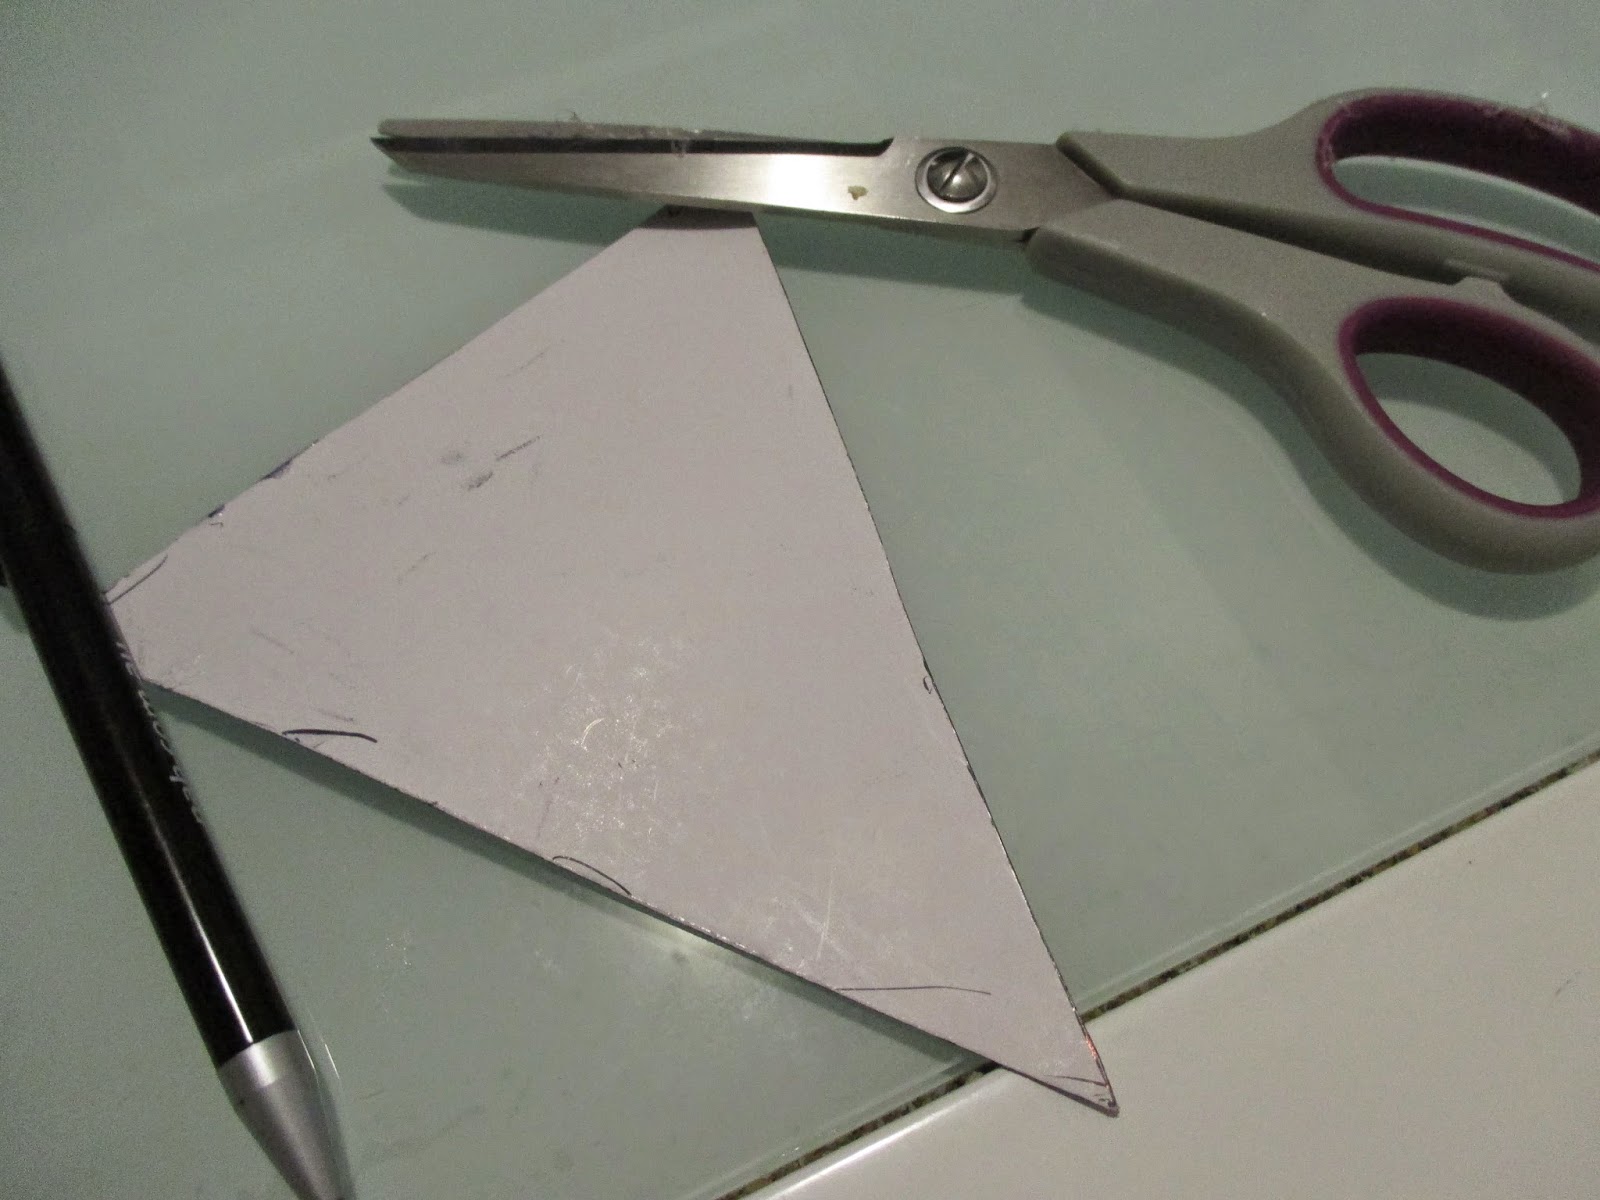
Cut a template flag out of some cardboard.
Step Two
Trace the template onto the fabric corresponding to the number of flags you want - for this example I've chosen 7 flags per set of bunting.
Step Three
Cut out the flags and arrange them into your desired pattern.
Step Four
With your ruler and ribbon measure approximately 30 cm and then begin gluing the flags.
I chose to use 10 cm increments between each flag for my bigger bunting and 6 cm spaces between each flag for my smaller bunting.
Leave the bunting to dry and your done :)
I hope you enjoyed this DIY post! Please leave a comment below if you make the bunting or telling me what you've made this year for Christmas decorations.
Merry Christmas!! :)
xoxo


Such a cute idea!! Love it. :)
ReplyDelete♥Natalie
Yours Truly, NY
Thanks so much :)
DeleteThank you!! :)
ReplyDelete